Catalog Enhancement: 5-Step Wizard
May 25, 2020 |

Getting started
Login to the Raptor Control Panel.
Go to Products and click on ‘Ad Advisor’.
Here you will find a set of modules to tune or activate. In this case, we want to activate one of the two Google Shopping Feed Optimizer algorithms. Consult your Raptor contact person if you are in doubt which Module to activate.
Click on ‘Activate’ to begin the 5-step wizard.

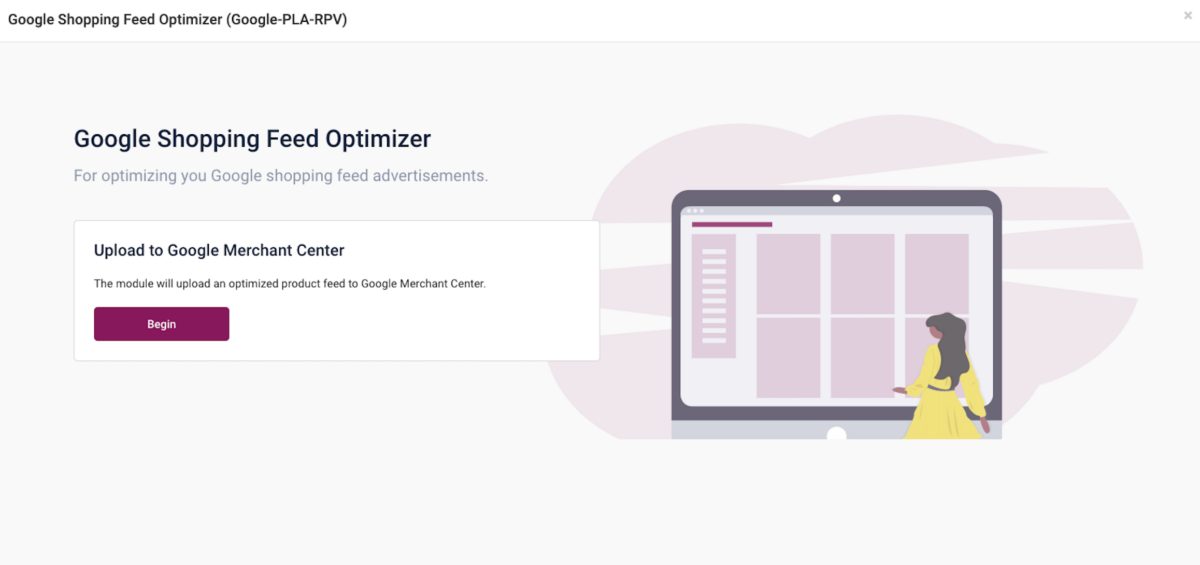
Click on ‘Begin’ to start the integration between Raptor and your Google Ads account.
Step 1
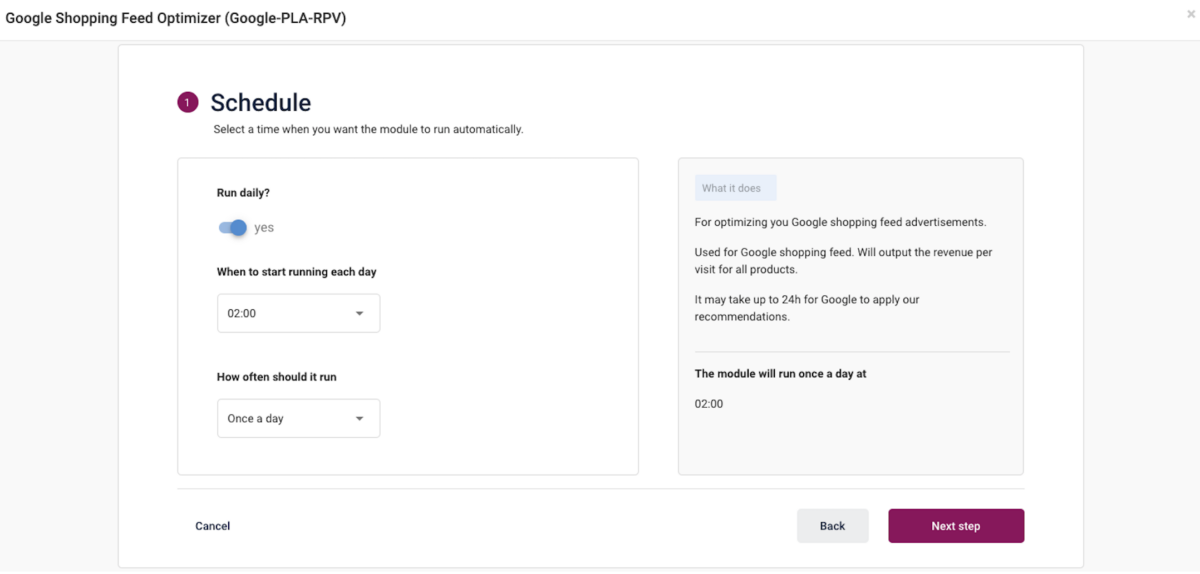
Select ‘when’ and ‘how’ often the product feed should be updated. This should be timed with the update of all the other feeds. We recommend that you update the Raptor feed one hour before you normally update your own feeds.
Once a day should be enough for most clients. If you wish to update your feed with a higher frequency please consult your Raptor contact person.
Step 2
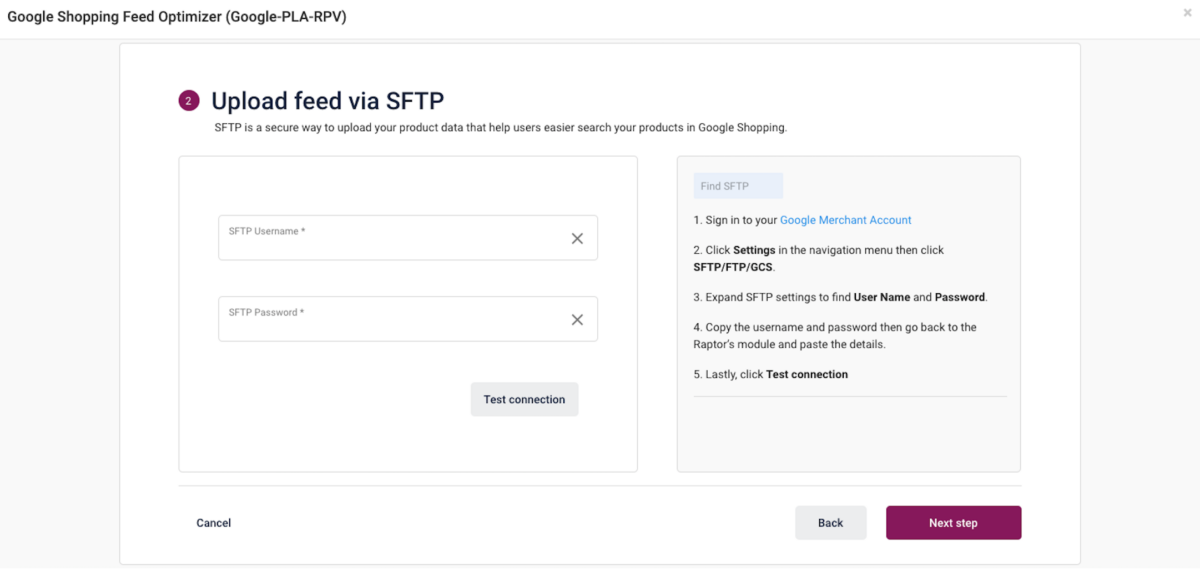
Upload your product feed through the SFTP feature in Google Merchant Center.
To find your SFTP username and password, follow the steps on the right-hand side of the picture below. We will walk you through the steps now.
First, you must go to your Google Merchant Center account.
Go to settings in the upper right corner and click ‘SFTP’.
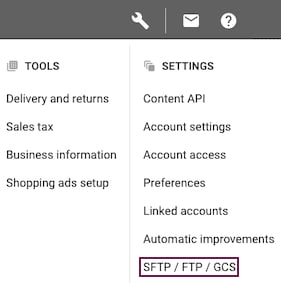
Look for username and password.

Copy and paste both things and return to the Raptor interface.
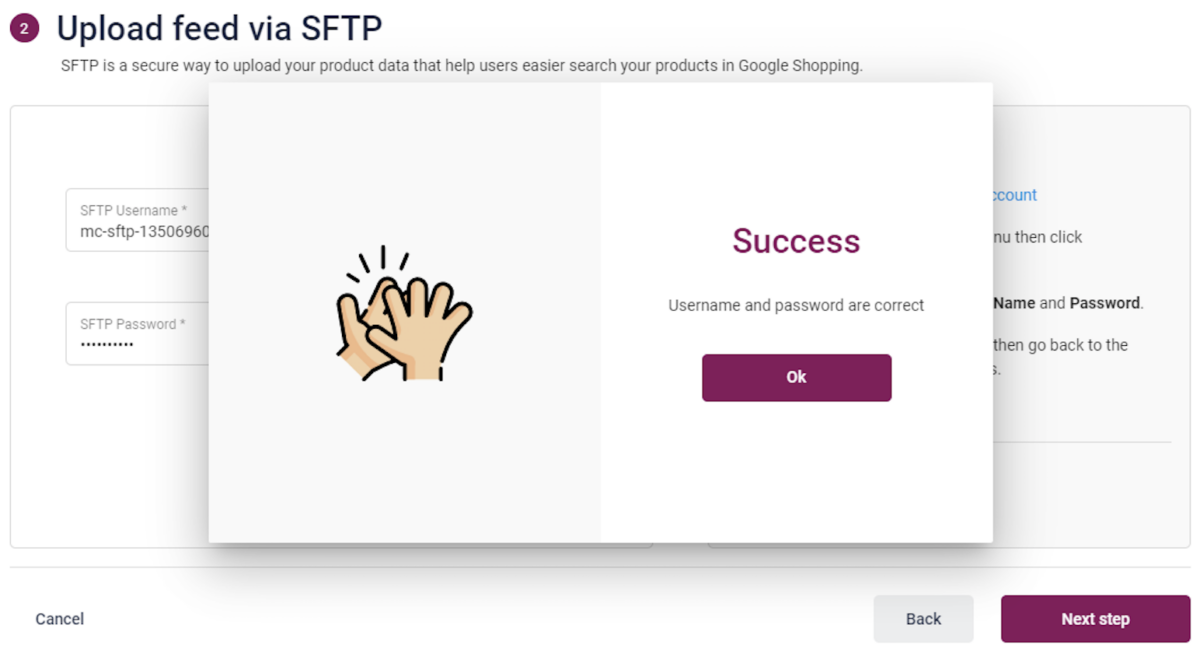
If the username and password are entered correctly, you will get a success message.
Step 3
Go back to Google Merchant Center and follow the 4 steps on the right-hand side from the Raptor interface.
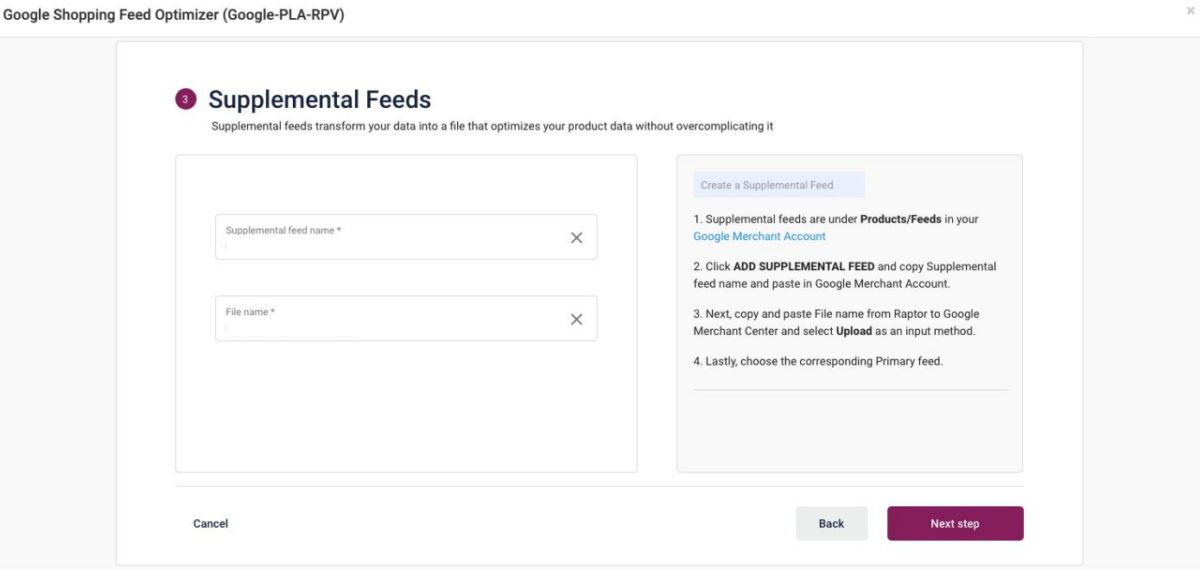
In Google Merchant Center you go-to products > feeds > and click on ‘Add supplemental feed’.

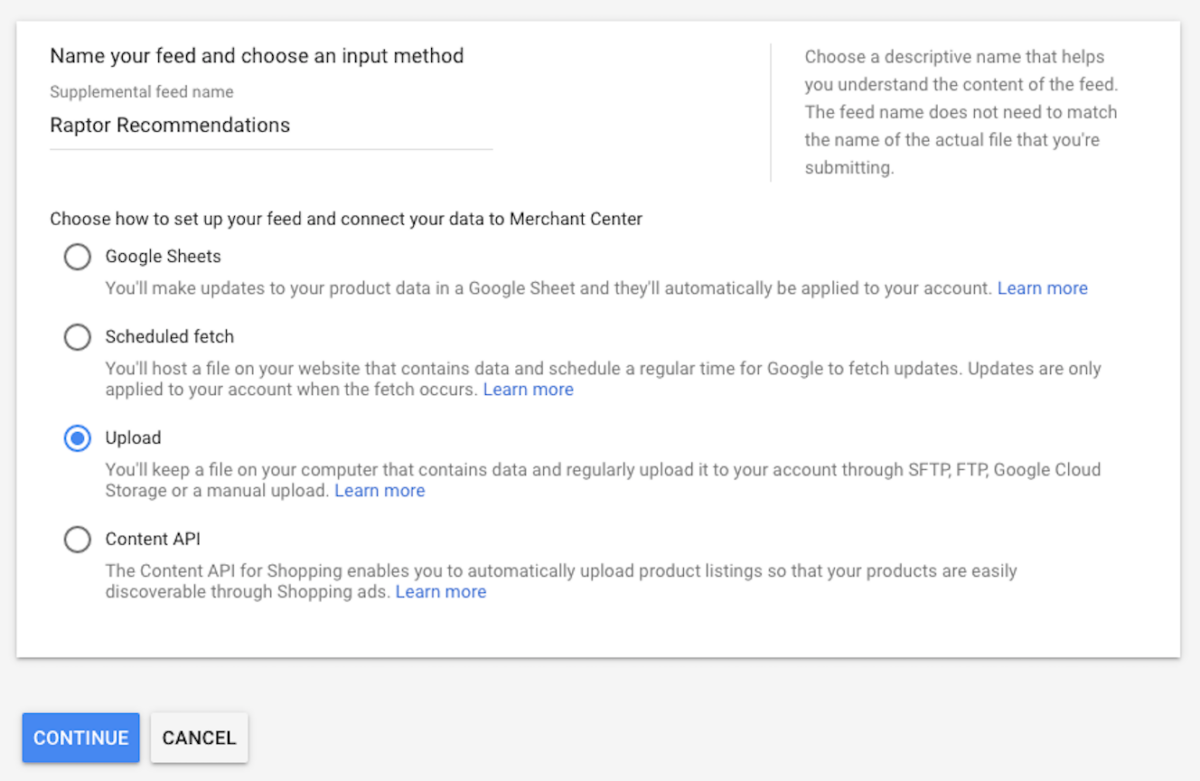
In this step, you are required to name your supplemental feed. This name is of your choice but should be something you can remember later.
Choose to ‘Upload’ your feed and connect to the Merchant Center.
Then click ‘continue’.
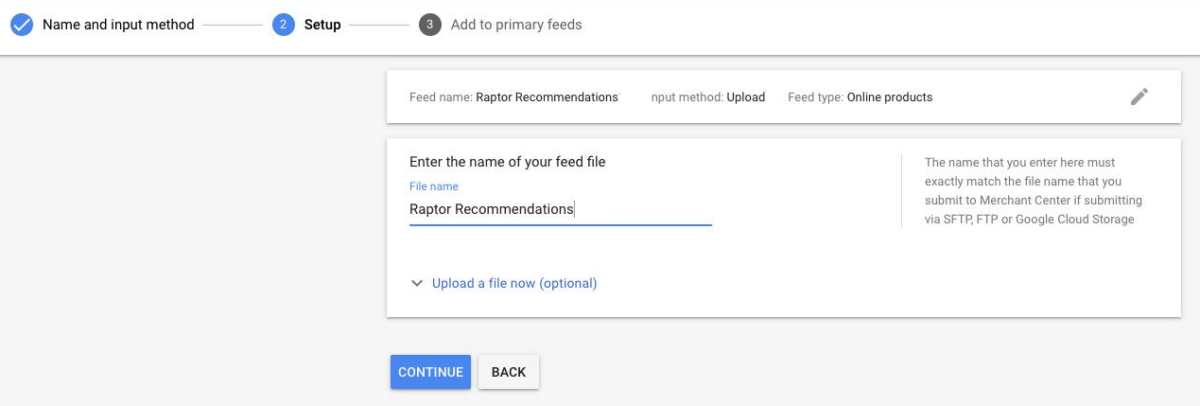
Input the file name you chose in the previous step. This must be an exact match.
The final step is to choose where to add the new data. It should match where you buy your shopping ads.
Finish by clicking ‘create feed’.
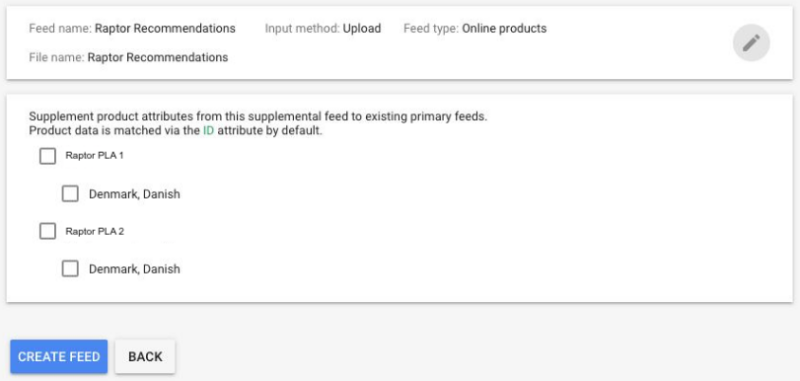
Now you are finished in Google Merchant Center and can return to the Raptor interface.
Write the exact same names as you did in Google Merchant Center.
Then click on ‘next step’.
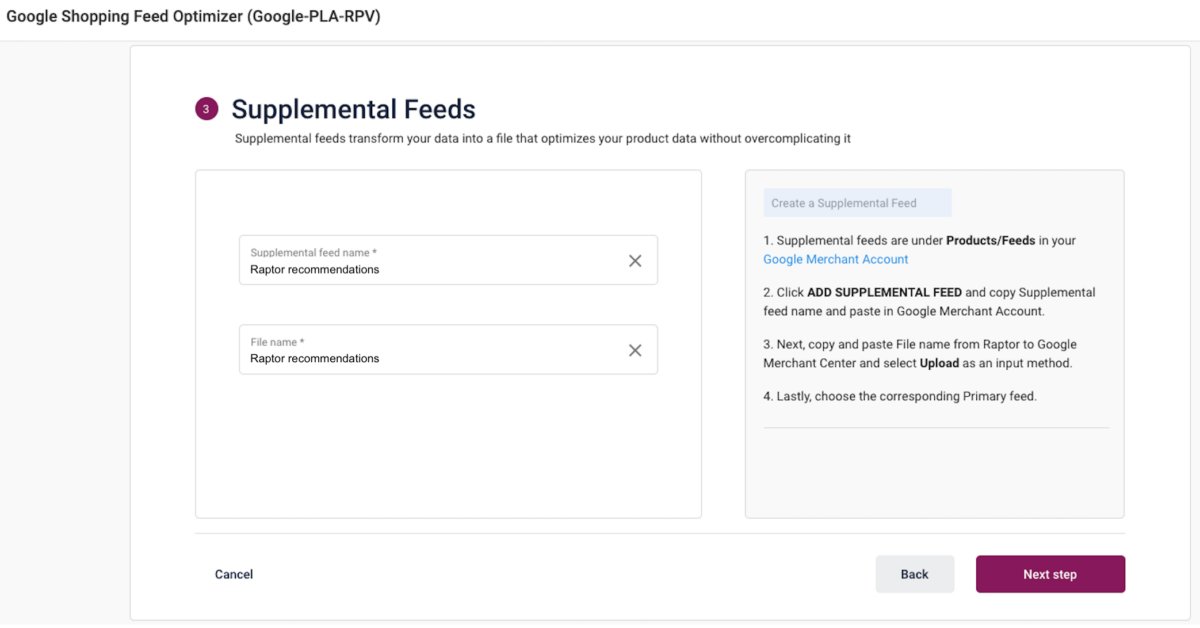
Step 4
Input your Google Ads account ID, which you find using the guide on the right-hand side. Click on ‘Finish’.
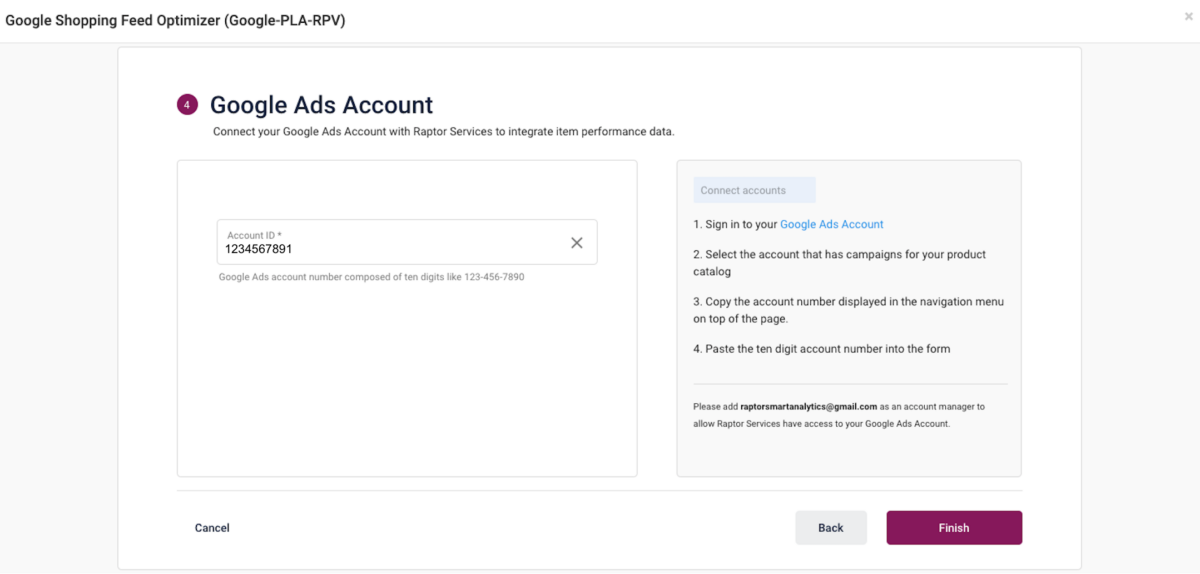
Step 5
You have now completed the feed integration.
It can take up to 48 hours to approve the supplemental attributes by Google.
When the parameters are visible in Google Ads you can start pushing the budget to the recommendations.
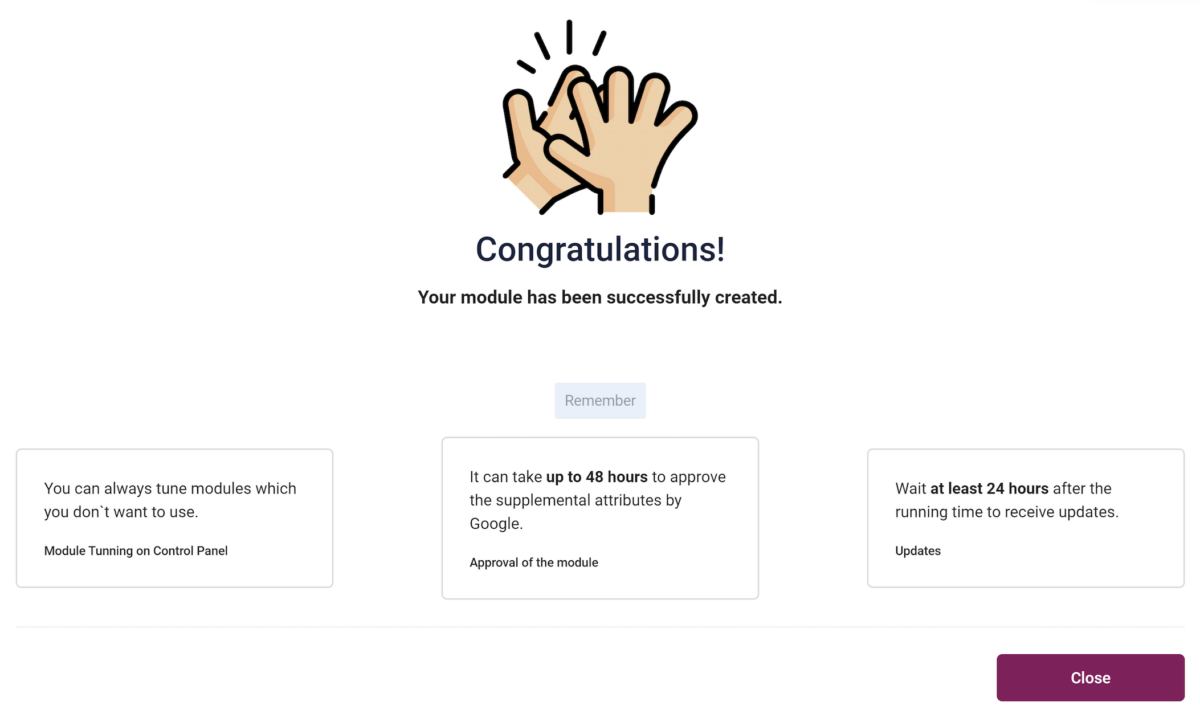
When you have completed all the following steps, the variable will be available in your Google Ads.
You can now choose to use the variable to filter and target campaigns towards specific products.
Do you need help?If you need help getting started with Catalog Enhancement, you are more than welcome to book a free session with one of our experts to know more about how it works. |

Anders SpickerDirector, Omnichannel Excellence Phone: +45 5367 5755
|
Related Content
You might also like
Let us show you what you can achieve with premium personalization


A Raptor expert can share more about the product and answer any questions you have.

